
Magnetic prospecting is a useful technique for finding iron ore deposits and reducing exploration costs. While simulation provides a way to better understand and improve this process, generating results for each new scenario can be time consuming. Instead, engineers can increase efficiency by designing a magnetic prospecting app for personalized analyses. Here, we discuss an app that quickly generates customized results by enabling users to import heightmaps and geographical data and then add magnetic simulations.
Finding Iron Ore with Magnetic Prospecting
Iron, one of the world’s most commonly used metals, is found in everything from automobiles and skyscrapers to furniture and cookware. Due to its popularity, iron ore is an in-demand commodity and global producers need an efficient way of harvesting it. As such, engineers are left with an interesting task: coming up with a method that finds as much iron ore as possible while minimizing exploration costs.
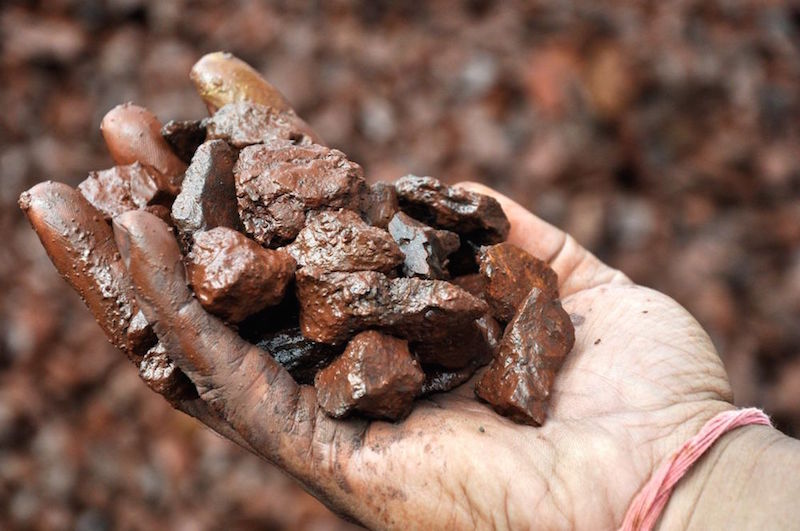
Iron ore that has been washed and graded. Image by Peter Craven — Own work. Licensed under CC BY 2.0, via Flickr Creative Commons.
One solution is magnetic prospecting, a geological exploration method that estimates the center-of-mass coordinates and spatial extent of iron-rich layers underneath the earth’s surface. This process works because deposits of iron ore, such as those comprised of magnetite and hematite, alter the earth’s magnetic field and cause magnetic anomalies. In magnetic prospecting, probes are used to measure these local anomalies and find iron ore deposits. This saves on exploration costs.
With simulation, you can analyze and improve the magnetic prospecting process. Creating custom simulations tailored for each situation, however, requires a great deal of time. You may need to create new models or import a geometry and apply the correct magnetic simulation for each new site. As an alternative, you can use the Application Builder in the COMSOL Multiphysics® software to design a simulation app based on an underlying model. With an app, such as the demo app highlighted here, you can import customized magnetic prospecting data and apply magnetic simulations quickly and easily. In addition, colleagues can use the app to run their own analyses and get customized results without the assistance of a simulation engineer.
Create a COMSOL® App to Evaluate the Magnetic Prospecting Process
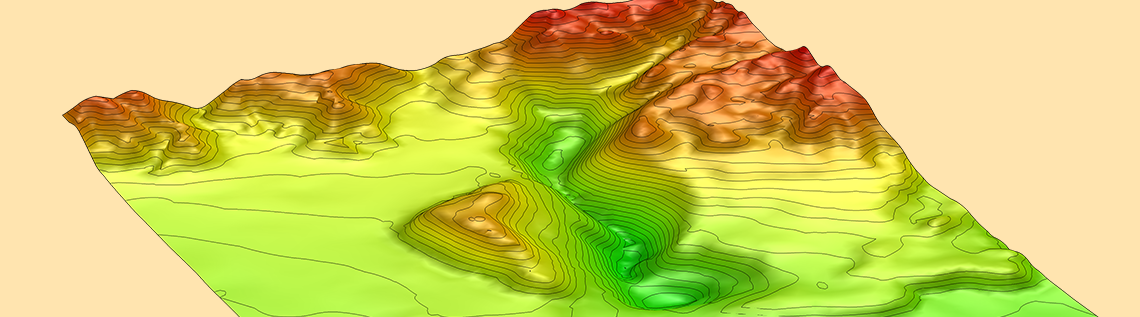
Today, we discuss a magnetic prospecting app that enables users to import digital elevation model (DEM) files and heightmap images as well as add magnetic simulations to these files.
Imported heightmap © OpenStreetMap contributors. See http://www.openstreetmap.org/copyright. Data available from the U.S. Geological Survey.
The Magnetic Prospecting of Ore Deposits app has two main uses:
- Visualize how iron ore deposits affect the earth’s magnetic field at a specified location
- Predict the measured anomaly at different measuring points on the surface
The demo app achieves these goals by solving a magnetostatic problem with the Magnetic Fields, No Currents interface. The underlying model includes a geometry that extends both above and below a reference elevation level and thus includes an aboveground and underground region. Completely contained in the underground simulation area is an iron ore deposit, which is modeled as a uniform ellipsoid. The model computes a uniform magnetic background field from a specific geomagnetic field.
For more information about the underlying model, you can download the application documentation.
Customize Geological and Magnetic Properties with an App
The app’s user interface consists of three tabs. To begin, let’s discuss the Geological Properties tab, pictured below. The Geological Properties tab enables users to customize the study size area, ore deposit geometry, and how the earth’s surface is represented. Here, we focus on one useful feature in this section: importing a surface geometry.

The Geological Properties tab in the Magnetic Prospecting demo app.
In the screenshot above, Default Heightmap is selected in the Surface list box of the Site Properties section. In our example, this default heightmap represents an actual area in California. While this is the app’s default location, users can easily investigate other locations by using the Surface list box to change how the surface of the earth is specified.
One option is to import an image that represents a desired elevation profile by selecting Heightmap (image file) from the drop-down menu instead of Default Heightmap. The imported image needs to be grayscale, with brighter and darker tones representing higher and lower elevations, respectively. After importing an image, users enter a value for scaling and the app automatically scales the image to the area’s dimensions.
App users can also use the Digital Elevation Model (DEM) option to import elevation data in the DEM file format, which is defined by the United States Geological Survey (USGS). This file type includes elevation data for points on a regular grid. When working with an imported DEM file, users can enter a reference elevation and the app generates an overlay of an elevation grid on the simulation area.
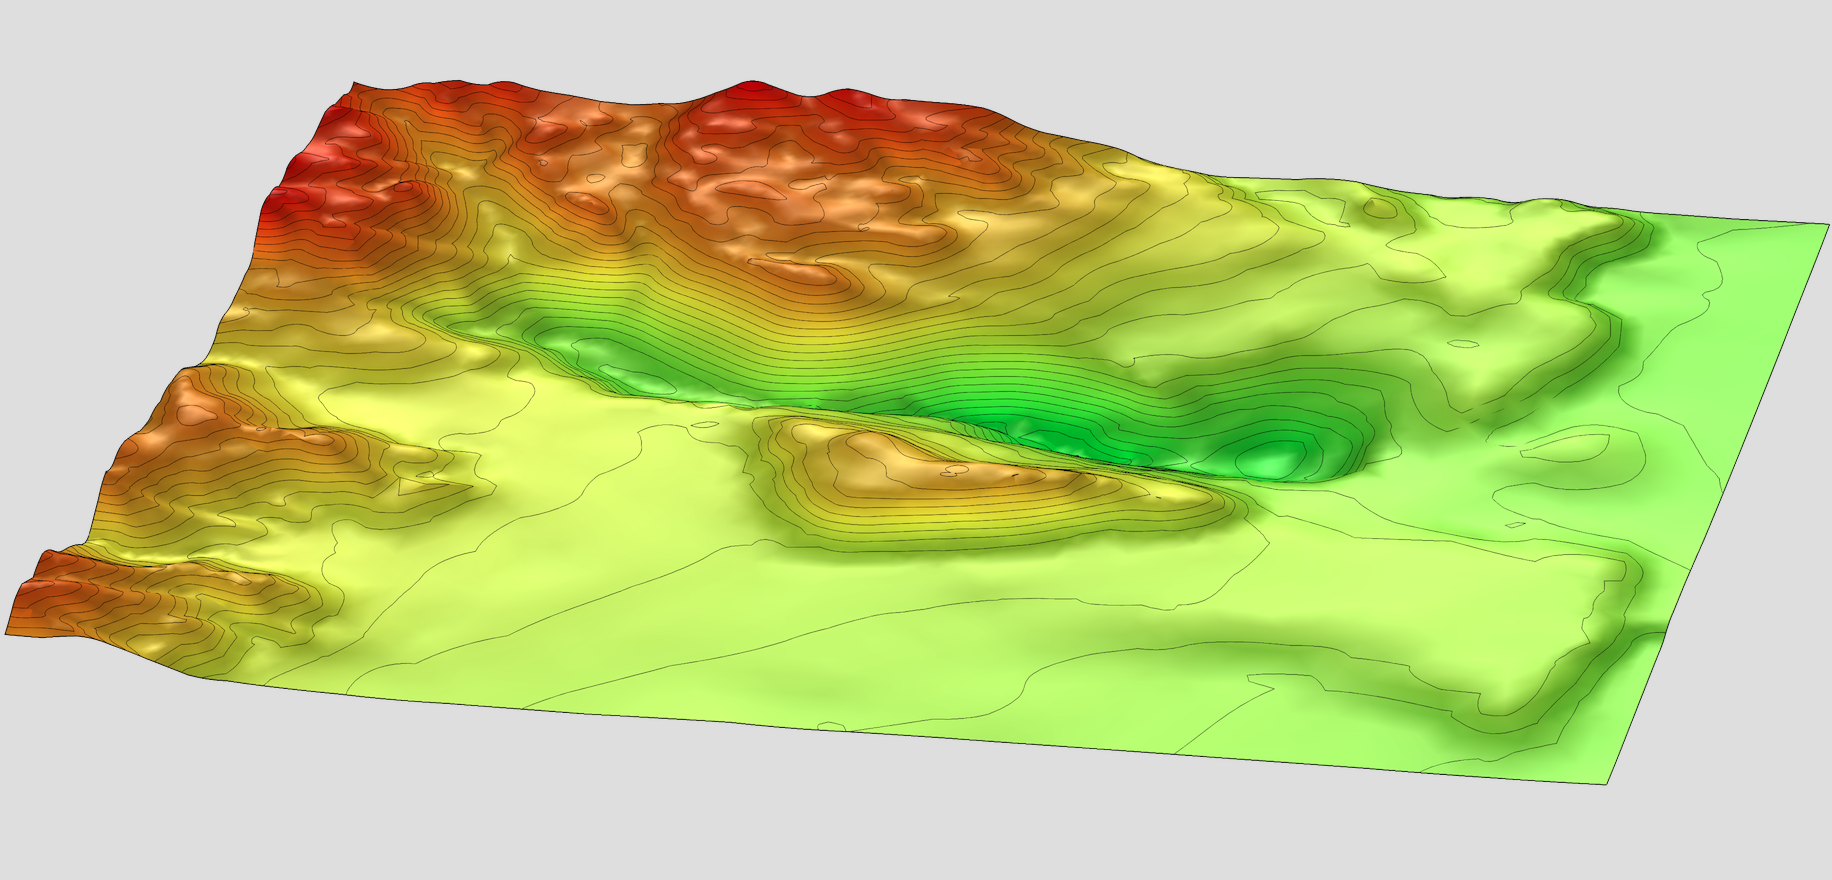
Example of imported topographical data showing a magnetite deposit.
After changing the application inputs in any tab, users need to recompute the solution. Similarly, after changing the geometric parameters, the geometry needs to be rebuilt. With this demo app, you only have to click the Compute and Build Site buttons in the upper-left corner to accomplish these tasks.
Moving on, let’s investigate the Magnetic Properties tab, which defines the local geomagnetic field and the ore’s magnetic properties.

The Magnetic Properties tab.
Here, the app provides a few different options for adding magnetic simulations to the preexisting or imported data we discussed above. First, users can customize the geomagnetic field by defining individual components and downloading current geomagnetic field data from the National Centers for Environmental Information website. To download this data, click the Download button next to Download geomagnetic data.
Second, users can customize the ore’s magnetic properties. To accomplish this, they can use a mixture model that accounts for the ore’s magnetic permeability and the remanent magnetization of its magnetic portion.
Getting Results
In the Results tab, app users can add anomaly probes and customize their locations on the geometry surface. They can also receive numerical values for the anomaly at these points.

The Results tab.
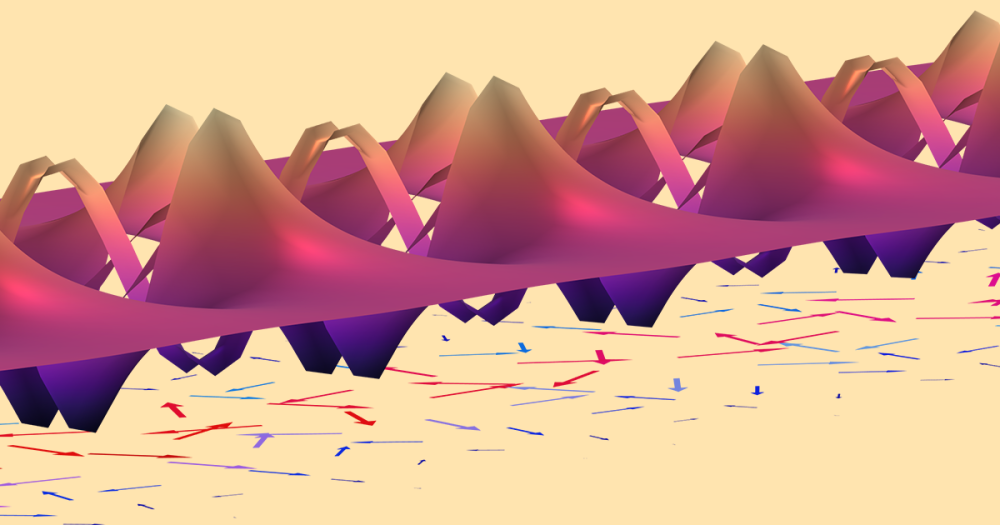
The process of adding a probe is easy. Users simply enter the location that they want to study in the Marker section and click the Update Marker button. After this, a blue marker appears at the designated location on the 3D plot. The 3D plot also shows the computed geometric field anomaly and the total perturbed field, which are represented by streamlines.
If the user is happy with the marker’s location on the 3D plot, they can click the Add Probe button to place a probe at the marker’s location. This action produces a red arrow, like the two we see on the 3D plot above. At the same time, numerical data indicating the predicted anomaly at the probe’s locations within the region is also added to the Anomaly Measurement Probes table. Users don’t even have to worry about choosing the wrong location for a probe, since at any time, they can click the Clear Probes button to start over.
When the app user is satisfied with their results, they can click the Write Report button, located in the app’s upper-left corner, to create a report that includes all of their customized simulation results. With apps like these, colleagues can generate customized results without relying on the assistance of simulation experts like you. Click the button below to try this app and get inspired to create apps of your own.
Further Reading
- Check out other examples of COMSOL® apps by browsing these blog posts:
- Learn more about AC/DC simulation on the COMSOL Blog


Comments (0)